

Guide to Building a Home Coffee Station That Works
Table of Contents
- Step 1: Choose the Right Spot for Your Coffee Station
- Step 2: Measure, Plan the Layout, and Check Power and Water
- Step 3: Pick Your Brewing Method and Coffee Station Essentials
- Step 4: Complete Your Home Coffee Bar Setup With Storage and Organization
- Step 5: Build a Small-Space Coffee Station With Vertical Storage
- Step 6: Set a Budget With Itemized Setup Costs
- Step 7: Keep Your Coffee Station Clean and Your Beans Fresh
- Conclusion
- Frequently Asked Questions
Last Updated: October 18, 2026
Step 1: Choose the Right Spot for Your Coffee Station
A home coffee station works best where morning traffic already flows: between the fridge and the sink, or near the toaster. Get it wrong and you will haul kettles across the kitchen for a year.
At Gospel and Grind, we ship beans to kitchens of every size, and the setups that stick share one trait: the station sits where you already stand.
Counter, Nook, Cart, or Side Table: Matching Location to Space
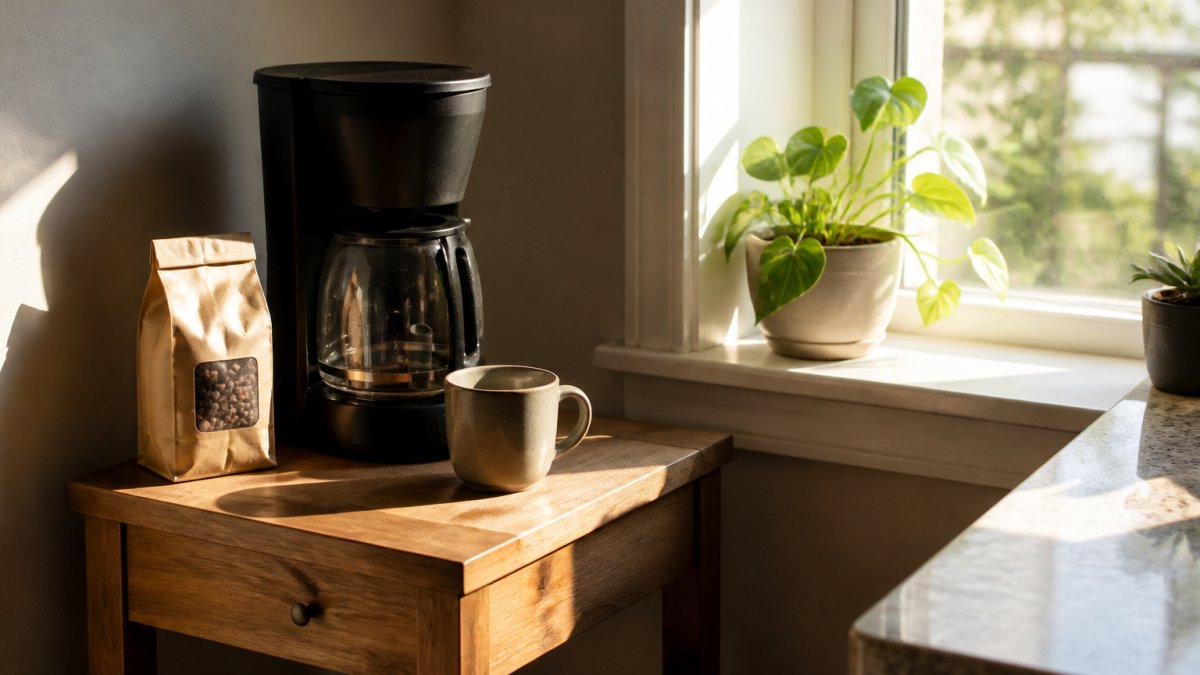
Match the spot to your square footage, not your Pinterest board. A full counter run suits big kitchens. A coffee nook or coffee corner suits galley layouts. A bar cart or side table suits renters and tiny apartments.
Ask three questions before you commit:
- Is there an outlet within reach of the brewer?
- Can you open cabinet doors and pull out drawers without blocking a walkway?
- Is the surface stable enough to hold a hot kettle without wobble?
A common mistake is picking a pretty wall with no outlet nearby. Extension cords across a kitchen floor are a trip hazard, so let the power source decide.
Step 2: Measure, Plan the Layout, and Check Power and Water
Measure twice and the layout plans itself. Note three numbers: counter depth, height from counter to upper cabinets, and distance to the nearest outlet. Those figures rule out half the gear you were considering.
Depth matters most. Standard counters run about 24 inches deep, and a grinder plus a brewer plus a mug stack will eat most of it. Keep 12 inches clear in front of the brewer for filling and stirring.
Electrical, Water, and Safety Planning
Plan power and water first, you cannot move either later without an electrician or a plumber.
- Outlets: Most kitchen circuits are GFCI-protected, which is what you want near water. Check yours with the test button. If you need more plugs, use one short grounded power strip mounted off the counter, never a daisy chain of extenders.
- Water: If you fill a reservoir brewer, you need a sink within carrying distance. A full 12-cup reservoir weighs several pounds, and hauling it across a room gets old fast.
- Heat and clearance: Keep the brewer a few inches from the wall and away from paper towels, curtains, and anything else that can catch. Never tuck a hot brewer under a low cabinet where steam collects.
Step 3: Pick Your Brewing Method and Coffee Station Essentials
Pick the brewing method first, then buy the gear that method actually needs. The coffee station essentials list and the footprint both change depending on whether you pour over, press, or drip. Plan around one primary method, then add a secondary one only if you have the counter depth.
Here is how the main methods compare on effort, gear, and space:
| Method | Gear You Need | Time Per Cup | Counter Footprint | Best For |
|---|---|---|---|---|
| Drip coffee maker | Machine, filters, scoop | Set and forget | About 12 x 12 inches plus carafe clearance | Busy mornings, batches |
| Pour-over | Dripper, paper filters, gooseneck kettle, scale | 4-5 minutes | About 18 x 12 inches for dripper and kettle together | Control and clarity |
| French press | Press, coarse grind, kettle | 4 minutes steep | About 10 x 10 inches plus plunger clearance | Full body, low tech |
| Espresso machine | Machine, fine grind, tamper, scale, pitcher | 1-2 minutes | About 20 x 18 inches for machine, grinder, and tamping mat | Milk drinks, ritual |
| Pod brewer | Pod machine, pods, mug | Under 1 minute | About 8 x 10 inches | Speed, minimal cleanup |
Method-Specific Equipment Checklists
Use these checklists to shop once instead of making three trips.
Drip coffee maker
- Machine with a thermal carafe if you sip over an hour; glass carafe if you finish the pot fast
- Basket or cone filters sized to the machine, sizes are not interchangeable
- A scoop or, better, a scale for consistent ratios
Pour-over
- A dripper (cone or flat-bottom) and matching paper filters
- A gooseneck kettle for controlled pouring; a variable-temperature model helps with lighter roasts
- A scale accurate to 0.1 grams for dose and yield
French press
- A press sized to your usual batch, a 34-ounce press makes about three mugs
- A coarse grind, either from your grinder or requested from the roaster
- A kettle, plus a timer or scale
Espresso machine
- The machine, plus a tamper that matches the basket diameter
- A burr grinder capable of a fine, consistent grind, the non-negotiable upgrade
- A scale that fits under the portafilter, and a pitcher for milk
Pod brewer
- The machine and a pod supply you will actually finish before they stale
- A mug short enough to clear the spout
- Descaling solution on hand, since pod machines mineral up quickly
Plan the Layout Around Your Primary Method
Each method has a natural workflow, and the station should follow it in order of use:
- Drip: beans and grinder, then machine, then mugs. Leave the front edge open for pouring.
- Pour-over: grinder, then scale and dripper, then kettle. Keep the kettle within arm's reach so you are not carrying hot water across the counter.
- French press: grinder, press, kettle, timer. The plunger needs vertical clearance, so do not tuck the press under a low shelf.
Every setup needs the same core items:
- A grinder, ideally burr, so you grind fresh
- A kettle, gooseneck if you pour over
- A scale for consistent ratios
The beans matter as much as the gear. We roast to order so the bag reaches you fresh, and [our Breakfast Blend is a smooth medium roast that suits drip and pour-over alike](/products/breakfast-blend).

Step 4: Complete Your Home Coffee Bar Setup With Storage and Organization
A home coffee bar setup stays usable only if everything has a home. Bags, filters, scoops, syrups, and mugs pile up fast until the counter disappears.
Start with zones. Beans and filters live within arm's reach of the brewer, mugs above or beside it, and cleaning cloths and descaling supplies below, out of daily sight.
Coffee Bar Organization Ideas for Beans, Filters, and Mugs
Use these coffee bar organization ideas to keep the surface clear:
- Store beans in airtight containers away from light and heat, not in the bag on the counter
- Keep filters in a small drawer or lidded jar beside the brewer
- Hang mugs on a rail or stack them on open shelving to free up counter space
A common mistake is storing beans in the freezer or in a clear jar on a sunny sill. Both speed up staleness. Cool, dark, and sealed is the rule.
Step 5: Build a Small-Space Coffee Station With Vertical Storage
A small-space coffee station wins by going up, not out. When the counter is full, the wall is empty real estate.
For renters, choose shelves that mount with removable adhesive or a single small anchor hole. A leaning ladder shelf needs no drilling at all.
- Above the counter: one or two floating shelves for mugs and storage jars
- On the wall: a hook rail for towels, scoops, and a small brush
- Beside the counter: a slim cart for the grinder and backup beans
Keep the tallest items at the back of each shelf so nothing blocks the reach.
Step 6: Set a Budget With Itemized Setup Costs
Set a budget in tiers and buy in order of impact. You do not need everything on day one, and spending more on the grinder and beans pays off faster than a fancier machine. The numbers below are typical U.S. retail ranges as of late 2026, sales, bundles, and refurbished units can land below them, and premium brands run well above.
Three Budget Tiers, Itemized
Starter, roughly $60 to $150
- Drip coffee maker: $25 to $60
- Filters: $5 to $10
- Scoop or basic scale: $10 to $25
This tier gets good coffee on the counter today, assuming you already own a kettle and a mug or two.
Core, roughly $200 to $450
- Burr grinder: $80 to $200 (the single biggest quality jump)
- Scale accurate to 0.1 grams: $20 to $50
- Airtight bean storage: $15 to $35
This is where cup quality jumps: fresh grinding and consistent ratios do more than a fancier brewer.
Complete, roughly $500 to $1,500+
- Espresso machine: $300 to $1,000
- Espresso-capable burr grinder: $150 to $500
- Tamper, scale, pitcher, tamping mat, knock box: $60 to $150
Espresso is the tier where the grinder and machine must be budgeted together. A $400 machine with a $50 blade grinder will disappoint; a $300 machine with a $200 burr grinder will not.
Where the Money Actually Goes
Rank your spending in this order:
- Beans, the recurring cost that decides flavor every single day
- Grinder, the upgrade that changes every cup, whatever the method
- Scale, the cheapest way to make your results repeatable
- Brewer, worth upgrading only after the three above are settled
- Storage and organization, the last 10 percent of the experience, not the first
Price the gear you already own before buying anything new. A kettle, mugs, a kitchen-drawer scale, and a repurposed shelf can move the starter tier close to free, and reusing a side table or console as the station base saves the cost of a cart.
On the coffee side, [our House Blend runs $23.99](/products/house-blend), and the 12 Pack Single Serve Coffee Capsules run $16.99 if you prefer pods. Buying beans roasted to order means you are not paying for coffee that sat in a warehouse.

Step 7: Keep Your Coffee Station Clean and Your Beans Fresh
Cleaning and freshness decide whether your station still tastes good in six months, and neither takes long if you build them into the routine.
Daily, rinse the brewer parts that touch coffee and wipe the counter. Weekly, wash the carafe, drip tray, and grinder hopper.
For beans, buy in amounts you will finish within a few weeks and reseal the container after every scoop. Our Instant Coffee offers 30 servings in a resealable pouch for travel or desk drawers.

Use food-safe containers, keep them dry, never store beans next to cleaning supplies, and label with the roast date so you use the oldest bag first.
Conclusion
Building a coffee station that lasts comes down to planning the spot, the power, and the storage before you buy a single gadget. Most setups fail on layout, not equipment.
If fresh beans are the heart of your setup, we can help. Gospel and Grind roasts to order for maximum flavor and aroma, delivers straight to your door, and supports the fight against homelessness with every purchase.
Frequently Asked Questions
What do you need for a home coffee station?
Start with the coffee station essentials: a coffee maker or brewing method, a grinder, coffee beans, filters, a kettle, mugs, and a surface to work on. Add storage for beans and accessories, a milk frother or syrups if you like, and a small tray to catch spills. Match the equipment to how you actually brew. If you use pods, a capsule brewer and a 12-pack of single-serve capsules is enough. If you brew drip or pour-over, budget for a grinder and a gooseneck kettle.
How do you set up a coffee station in a small space?
Use a bar cart, a side table, or a section of countertop and build upward. Wall shelves and a pegboard hold mugs and tools without taking up surface area. Choose one brewing method instead of several, keep beans in a sealed canister, and store filters and accessories in a drawer or basket underneath. A small-space coffee station works best when everything has one home and the surface stays clear for actual brewing.
How much does it cost to build a home coffee station?
Cost depends on what you already own. A basic setup using an existing counter and a drip coffee maker can cost under $100 in accessories. A mid-range station with a grinder, kettle, and storage runs a few hundred dollars. Premium setups with an espresso machine cost more. Coffee itself is a recurring cost: Gospel and Grind's Breakfast Blend and House Blend are $23.99, single-serve capsules are $16.99 for a 12-pack, and instant coffee is $18.39 for 30 servings.
How do you keep a coffee station clean and organized?
Wipe the surface daily and descale your brewer on the schedule your manual recommends. Keep beans in an airtight container away from light and heat, and store filters and accessories in drawers or labeled baskets so the counter stays clear. Empty the drip tray and knock box often, and run a cleaning cycle on capsule and espresso machines as directed. A five-minute reset at the end of each day prevents most clutter and buildup.
Sources and further reading:
- U.S. Consumer Product Safety Commission guidance on extension cords and outlet safety
- USDA Food Safety and Inspection Service storage guidance
- U.S. Department of Energy tips on kitchen appliance energy use